Categories
WiFi and Bluetooth Kit for Jetson Nano - Intel 8265NGW Dual Band Wireless AC
RM85.00
On Sale
Was RM99.00 Save RM14.00
1
Save this product for later
WiFi and Bluetooth Kit for Jetson Nano - Intel 8265NGW Dual Band Wireless AC
Product Details
The Jetson Nano Developer Kit does not come with wireless connectivity. However, the carrier board has an M.2 Socket that you can attach a wireless card. Intel 8265NGW is the recommended wireless card for Jetson Nano. It is supported right out of the box with JetPack SDK, no additional driver required. This wireless card supports 2.4GHz / 5GHz dual band WiFi and Bluetooth 4.2.
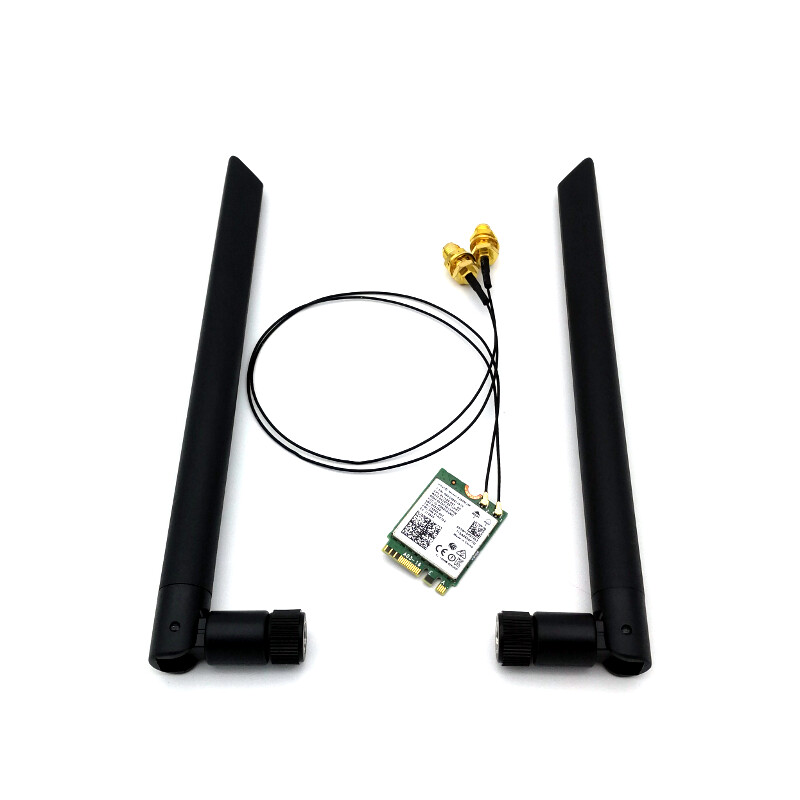
This kit comes with with matching antennas and cables. Antenna shape might differs depending on our stock availability.
This kit is not compatible with Jetson Nano 2GB Developer Kit which does not have M.2 slot.
Technical Details:
- Chip: Intel 8265AC
- Bands: 2.4GHz / 5GHz
- Speed: 300Mbps / 867Mbps
- WiFi protocol: 802.11ac
- Bluetooth version: 4.2
- NIC interface: NGFF (M.2)
- Antenna interface: IPEX connector
- Supported OS: Linux, Windows 10/8.1/8/7
- Dimensions: 22mm × 30mm × 2.4mm
Package content:
- Intel 8265NGW board x1
- RP-SMA Antenna x2 - approx. 20 cm long
- MHF4 to RP-SMA cable x2
Installation steps:
- Remove the Jetson Nano module from the carrier board. You have to remove the 2 Philips screws and release the side latches
- Remove the single Philips screw near the M.2 connector. Insert the wireless card to the connector at a slight angle
- Carefully press the card and put back the retaining screw. Route the antenna cable appropriately. You can also use non-conductive tape to firmly hold the cable
- Put back the Jetson Nano module to the carrier board. You have to insert it to the edge connector at a slight angle and press it until you hear the side latches click
- Screw in the two antennas to the cable and you are good to go
Useful links:
- Installation guide and video from jetsonhacks.com
Display prices in:MYR
