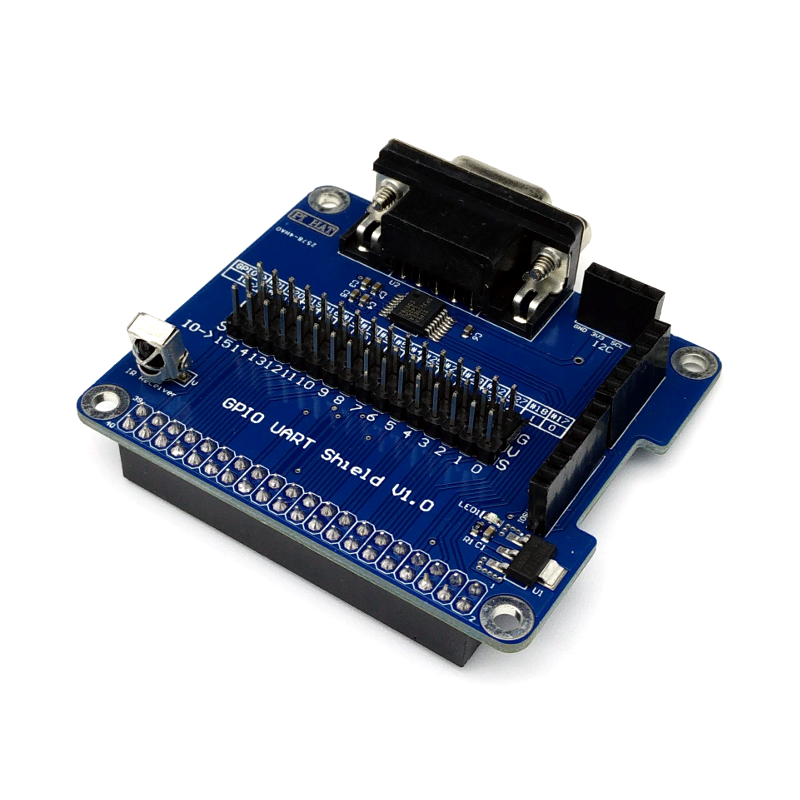
RS232 Serial / UART Add-On Board for Raspberry Pi
RS232 is a serial communication protocol that can be found in many generation of computers and peripherals. It used to be a standard feature for personal computers before being replaced by the faster and low power USB interface. To many, RS232 would seem to be an obsolete protocol but in reality it's still around. It's probably the easiest way to get two computers to talk to each other. RS232 is still widely used in many areas for example in networking equipment, industrial machines and in scientific or lab instruments.
The Raspberry Pi supports UART serial communication but it works at a low 3.3V voltage and it does not support direct connection to RS232 devices which typically use +/- 12V. This add-on board offer RS232 communication with the Raspberry Pi where the voltage level is shifted accordingly. You can connect other RS232 device via a standard female DB9 connector on board.
This board plugs directly on top of Raspberry Pi GPIO pin. It has the same size as a standard HAT board (65 mm x 56.5 mm), so most of it sits within the Pi's footprint. Only a few GPIO pins are used for RS232 communication. The remaining unused pins are extended on the board so that you can use this for other purposes. This includes I2C, SPI and other GPIO pins. Please refer to the table printed on-board for the corresponding connection. As an added value, there is an infrared receiver which you can easily program for a remote control application. There is also a power indicator LED on board.
Features:
- Standard female DB9 connector with level-conversion circuit that support direct connection from the Raspberry Pi to a RS232 device (e.g.PC etc.)
- GPIO extension - 16 GPIO male header with independent 3.3V power and ground header
- I2C and SPI extension - I2C and SPI pins are broken out to female header for easy connection
- Infrared receiver - connected to GPIO #26
- Standard HAT size: 65 mm x 56.6 mm
- Power indicator LED
Configuration (for Raspberry Pi 3 Model B):
Update software
To ensure that you have the latest software release, run the two commands below
Enable serial console
This will enable serial communication and allow you to connect to Raspberry Pi as a terminal via serial connection
sudo raspi-config
Under "Advance Options", enable serial.
If you want to use it for other purpose, this option need to be disabled.
Enable UART in Device Tree settings
Edit the config.txt file.
sudo nano /boot/config.txt
Add the lines below at the end of the file.
dtoverlay=pi3-miniuart-bt
The following line in the config.txt file should already be there when you enable the serial console. Check again to be sure.
enable_uart=1
Reboot so that the changes will take place.
sudo reboot
With the serial console enabled, you can now connect the Raspberry Pi to a PC with a RS232 port. Then, using a terminal emulator program (e.g. putty, minicom) you should now have the boot commands and login prompt when connected at 115200 baud.
Useful link:
- Sipex SP3220 datasheet - chip used on this board
- Raspberry Pi serial connection

