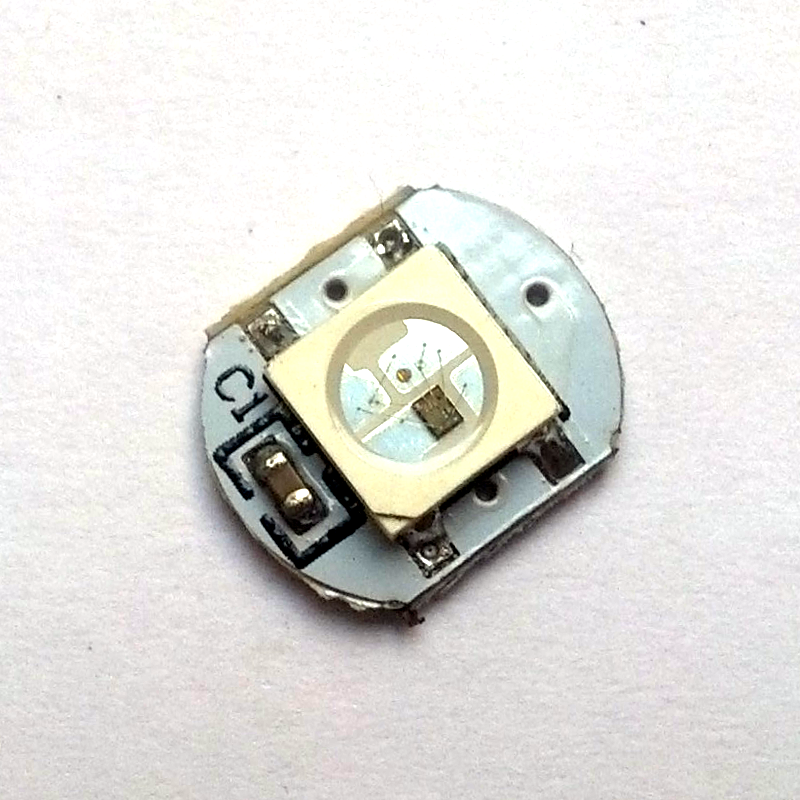
Digital addressable single RGB LED pixel (WS2812B), DC 5V
| Quantity | Price per item | Discount |
| 5 items | RM1.80 | 10% off |
This is a tiny board with a single addressable RGB LED. The LED is driven by WS2812B chip which is integrated within the LED package itself.
You can control this LED with a real-time microcontroller such as an Arduino, PIC or AVR by using just one control pin. However, due to the strict protocol timing of WS2812B,
Linux boards such as a Raspberry Pi or a BeagleBone Black are not suitable to control this LED. We suggest you to check out our WS2801 or LPD8806 LEDs instead. Update: Jeremy Graff has created an excellent rpi_ws281x library to control WS2812 LEDs from a Raspberry Pi.
This tiny LED board is great for DIY projects such as wearable electronics.
Connection
There are a total of 6 connection pads on the underside fo the LED board, arranged in a group of 3. They are marked with IN and OUT (printed invertedly). There are also arrows in the middle of the board pointing from IN to OUT, to show the direction of control data.
 To use the LED, you have to solder connection from the power supply and control data from your controller to the IN solder pads. The connections are marked on the board. With IN pads closer to you and the arrow pointing away from you, solder the +5V connection from the power supply to the left most solder pad (+). The control data from the microcontroller is to be soldered to the middle pad. The GND connection goes to the (-) solder pad on the right.
Multiple LEDs can be chained if you need more LEDs. You just have to solder the OUT pads of the first LED to the corresponding IN pads of the next LED and so on. You can connect as many as you want as long as you can provide sufficient power for them. Each LED in the chain can be controlled independently.
Technical details:
- Operating voltage: +3.5V to +5.3V DC
- Reverse polarity protection
- Luminous intensity:
- Red: 620-630 mcd
- Green: 1100-1400 mcd
- Blue: 200-400 mcd
- Dimension: 10mm x 8.5mm, 3mm thickness
Useful documents:
