Digital addressable RGB LED strip (LPD8806) - 1 meter, 32 LED, DC 5V
Everybody loves colourful things. It's especially fun when they are bright and glowing.
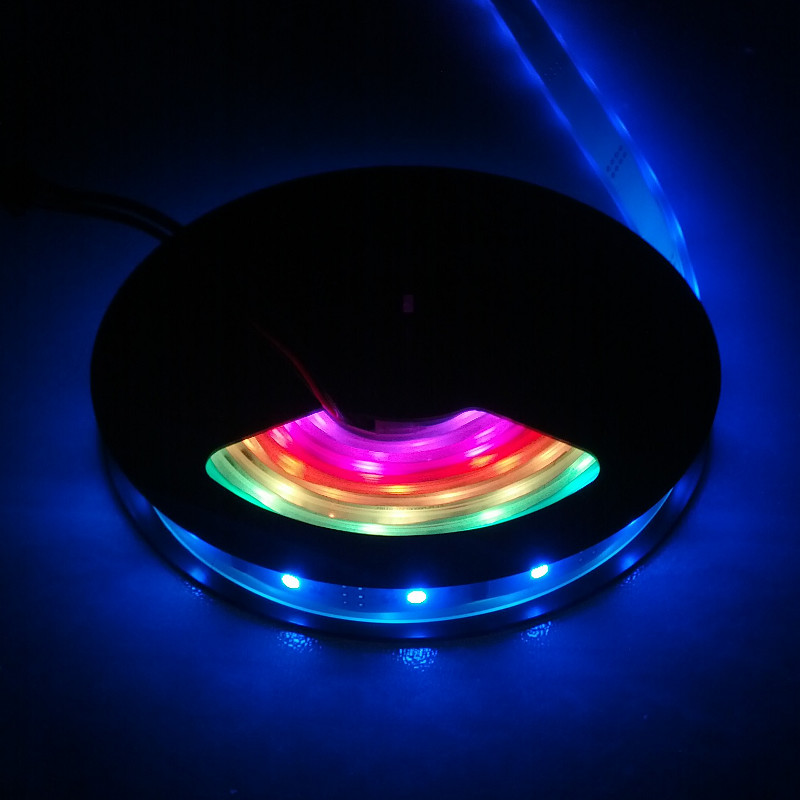
This is a strip of LEDs enclosed in a weatherproof and flexible silicone jacket (they are not immersible though). They are sold by the meter with 32 LEDs per meter - cut from a 5-meter reel.
The LEDs are controlled by LPD8806 driver chip. Each chip drives 2 LEDs and they are addressable. Addressable LEDs means they can be controlled individually. You can set different colour for each LED as opposed to non-addressable LEDs where you can set only 1 colour at a time for the whole strip. They are capable of displaying 24-bit true colour. That's 16 million colour variations!
You can control the LEDs with a microcontroller/microprocessor such as Raspberry Pi, BeagleBone Black or Arduino by connecting the data and clock signal to it. On the strip, near to the LED (the white square-ish box), you will see 4 solder pads labelled GND, CI, DI, +5V. This is the input end of the strip where the connection goes to your microcontroller. The other end labelled GND, DO, CO, 5V is the output end. The output connections are to be connected to other strip, or they can be left unconnected.
These LEDs are meant to be driven by a 5V system. Connect the +5V and GND pad to a dedicated 5V voltage source. There is no reverse polarity protection for this strip. Make sure you doule (or triple) check your connection before you connect the power supply. Pay attention to the current requirement. A 5V source from the microcontroller/microprocessor most certainly can't provide enough current to the LEDs.
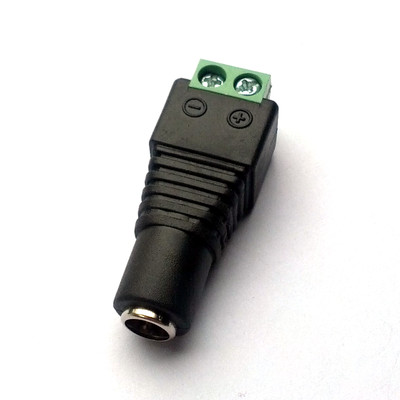
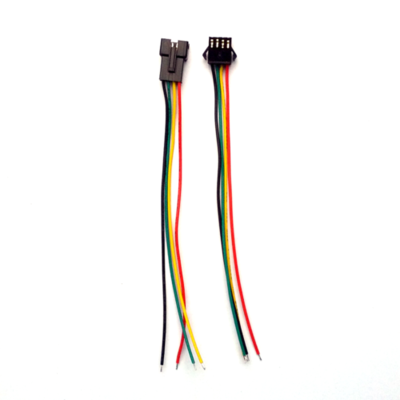
For connection to the controller, voltage source and between strips, we recommend a 4-pin SM cable. You can solder this cable easily to the solder pad of the LED strip. We found that a DC connector to screw terminal block adapter is handy when making connection from the cable to the power supply.
You may easily cut every 2 LEDs and re-join them again with as many LEDs as you like by soldering jumper wires to the connection pad - clock and data outputs of one segment going into clock and data inputs of the next segment. Just take care that your power supply can provide enough current! Power consumption is typically about 60mA per LED when set to bright white on a 5V supply. For other colours, it is much lesser than that.
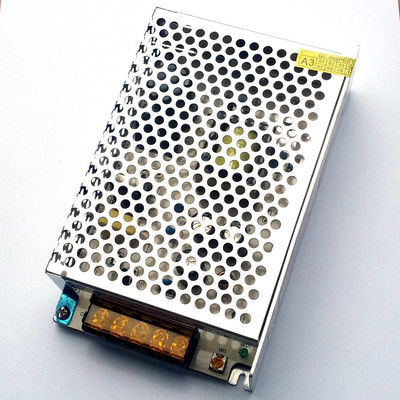
We have a 5V 2A power supply which is capable to drive 25-50 LEDs, perhaps more depending on your usage. If you plan to connect more LEDs, we recommend a bigger 5V 10A industrial power supply which can power more than 160 LEDs. Do not connect more than 5V voltage, else you might damage all LEDs on the strip.
Technical details:
- LED density: 32 LEDs per meter
- LED type: Superbright 5050 SMD LED
- Driver chip: LPD8806 (capable of 16 million colour variations)
- Weatherproof casing (removable)
- Connector: 4-pin JST SM (only if you buy the full 5 meter reel)
- Operating voltage: 5V (do not exceed 6V) - no reverse polarity protection
- Operating current: 0.06A maximum per pixel
- 2 pin (data and clock) for control
- Silicone jacket dimension (width and thickness): 16.5mm x 4mm
Raspberry Pi tips:
Control this LED strip using the onboard SPI connection. Connect Clock In (CI) on the strip to SCLK on the Pi. Data In (DI) on the strip to MOSI on the Pi. You need an external power supply to power the LEDs. The 5V rail on the Pi cannot provide enough current. GND on the strip share the same ground connection on the Pi and the power supply.


